Fraunhofer Group researches on virtual machine vision
Online inspection systems have proven themselves in many production environments. But what happens when the components get more complicated? How can your testing be automated despite the increasing individualization of industrially produced products? Answers are provided by virtual image processing, which completely simulates and optimizes the inspection process.
The idea came about during the cooperation between the working group »Computer Graphics« of the University of Kaiserslautern and the department »Industrial Vision« of the Fraunhofer ITWM in the last two years in the performance center »Simulation- and Software-based Innovation«. Especially in the interdisciplinary performance center, it became clear that research in the field of virtual image processing can only progress if the knowledge of different disciplines flows together. The cooperation between the ITWM department and the AG has existed for many years and led to the founding of an international research group.
Optical control of complex products
The research group combines the fields of image processing, computer graphics, machine learning and robotics to make optical inspection of complex products possible. The basic idea is to simulate the complete process of an optical inspection in the computer. »This goal can only be achieved if scientists from different disciplines cooperate with each other. But that also means for us that we explicitly have to define and advertise interdisciplinary dissertation topics, "says Markus Rauhut, head of image processing at the ITWM.
Prof. Hans Hagen, Head of Computer Graphics at the Department of Informatics of the University of Kaiserslautern, shares this assessment: »In addition to computer graphics and visualization, we also need methods of Physically Based Modeling for a viable simulation. This enables model building based on physical principles, visualization techniques are used for process-accompanying quality control. «
Goal: Simulate complete inspection environment
"Examining complex free-form surfaces for flaws means not only knowing the surface shape exactly, but also taking precise account of variables such as light or camera position," explains Markus Rauhut. While people compensate for the changing circumstances through experience (mostly in part), inspection systems find it difficult to "think along" flexibly that they work individually and accurately.
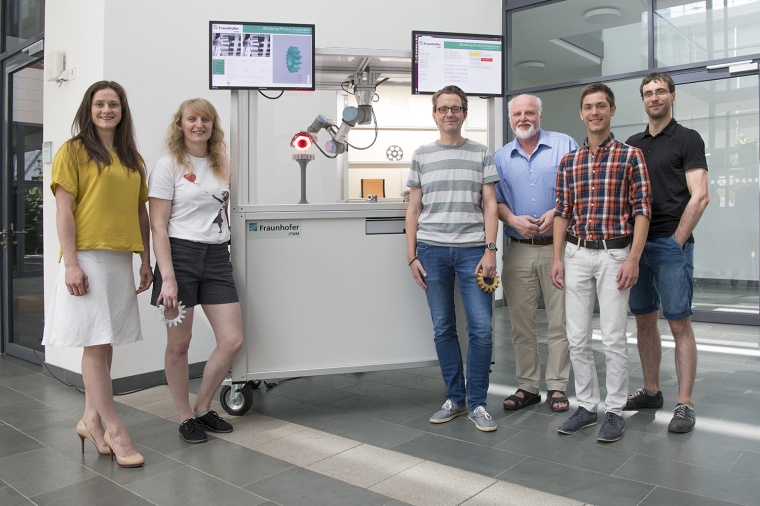
One step on the way to virtual inspection is the Revolving Product Inspection EPI developed at the Fraunhofer ITWM. During the circumferential inspection not only the basic conditions, such as the component geometry and the surface condition, are taken into account as precisely as possible, but the system has also learned where possible problem areas in the analysis can lie. It is first "fed" with the CAD data of a workpiece - that is, the inspection system knows what a good part should look like.
The software is designed to use the specific product to calculate individual scan paths for objects placed on a turntable. It uses the advantages of raytracing; Predictions can be used to calculate which areas of a component are visible from which position.
Paradigm shift in surface inspection
Even today, cars or planes are completely simulated before they are built. The Kaiserslautern researchers are taking smaller products (thermos flask, hair dryer, printed cup, etc.) but are going a step further. You want to create a software infrastructure that simulates the complete inspection environment; In addition to the properties of the test piece, this also includes the properties of all handware components (lighting, camera, optics, etc.). The architecture of the software should be designed in such a way that commercial providers of sensors, lighting, etc. can incorporate their product-specific properties (eg camera parameters) without having to divulge sensitive know-how. The system will therefore be manufacturer-independent.
Petra Gospodnetic writes her dissertation in the Image Processing department and compares the new approach with autonomous driving: »Like this, our system stands for a clear turning point in automation; At the end of development, we will have a system that allows autonomous inspection, regardless of the shape of the test piece. «


