Precise measurement of mechanical axes
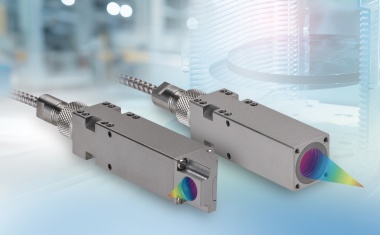
The straightness measurement can be set up in less than five minutes and the subsequent recording of the measured values is done manually or automatically via a hardware trigger - for example via a motor control or a proximity sensor. Deviations in the straightness of the guide create an inclination of the mirror. This mirror inclination is recorded by the electronic autocollimator. The deviations from the straightness at the defined measuring points are shown in a height profile. The software evaluates the measurement results according to nationally and internationally recognized standards and creates final acceptance reports for production.


