Faster quality control for 3D printed machine parts
24.07.2024 - Identifying potential flaws without having to remove the parts from the manufacturing equipment.
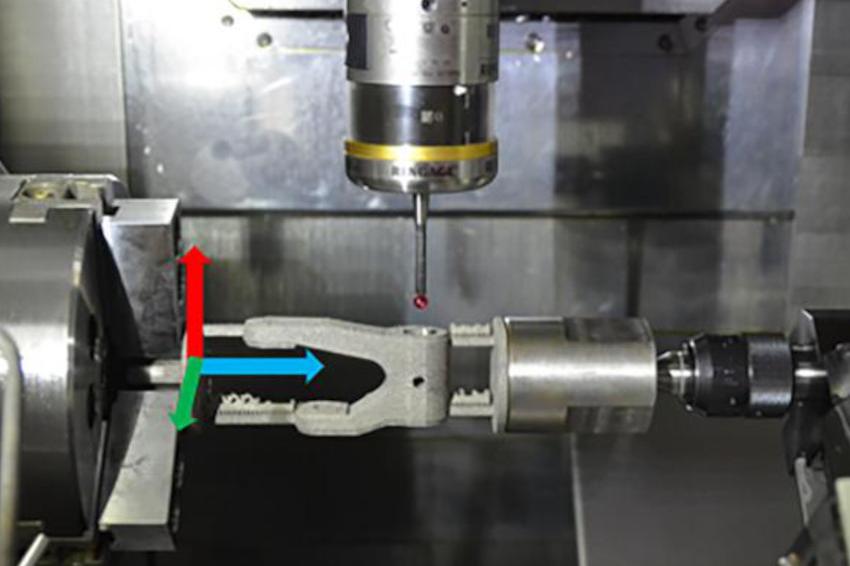
North Carolina State University researchers have demonstrated a technique that allows people who manufacture metal machine parts with 3D printing technologies to conduct automated quality control of manufactured parts during the finishing process. The technique allows users to identify potential flaws without having to remove the parts from the manufacturing equipment, making production time more efficient.
“One of the reasons people are attracted to 3D printing and other additive manufacturing technologies is that these technologies allow users to quickly replace critical machine components that are otherwise difficult to make outside of a factory,” says Brandon McConnell. “And additive manufacturing tools can do this as needed, rather than dealing with supply chains that can have long wait times. That usually means using 3D printing to create small batches of machine parts on demand.” After a metal machine part is printed, it requires additional finishing and has to be measured to ensure the part meets critical tolerances. In other words, every aspect of the part must be the right size. Currently, that involves taking a part out of the relevant manufacturing equipment, measuring it, and then putting it back into the manufacturing equipment to make modest adjustments.
“This may need to be done repeatedly, and can take a significant amount of time,” McConnell says. “Our work here expedites that process.” Specifically, the researchers have integrated 3D printing, automated machining, laser scanning and touch-sensitive measurement technologies with related software to create a largely automated system that produces metal machine components that meet critical tolerances.
When end users need a specific part, they pull up a software file that includes the measurements of the desired part. A 3D printer uses this file to print the part, which includes metal support structures. Users then take the printed piece and mount it in a finishing device using the support structure. At this point, lasers scan the mounted part to establish its dimensions. A software program then uses these dimensions and the desired critical tolerances to guide the finishing device, which effectively polishes out any irregularities in the part. As this process moves forward, the finishing device manipulates the orientation of the printed part so that it can be measured by a touch-sensitive robotic probe that ensures the part’s dimensions are within the necessary parameters.
To test the performance of the new approach, researchers manufactured a machine part using conventional 3D printing and finishing techniques, and then manufactured the same part using their new process. “We were able to finish the part in 200 minutes using conventional techniques; we were able to finish the same part in 133 minutes using our new technique,” McConnell says. “Depending on the situation, saving 67 minutes could be incredibly important. Time is money in most professional settings. And in emergency response contexts, for example, it could be the difference between life and death.”
The researchers note that this work focuses on printing and finishing machine parts that include circles or cylinders, such as pistons. However, the approach could be adapted for machine parts with other features. “All of the hardware we used in this technique is commercially available, and we outline the necessary software clearly in the paper – so we feel that this new approach could be adopted and put into use almost immediately,” McConnell says. “And we are certainly open to working with partners who are interested in making use of this technique in their operations.” (Source: NCSU)


