Separate Point Clouds for Multi-material Workpieces Made Easy
At the Push of a Button
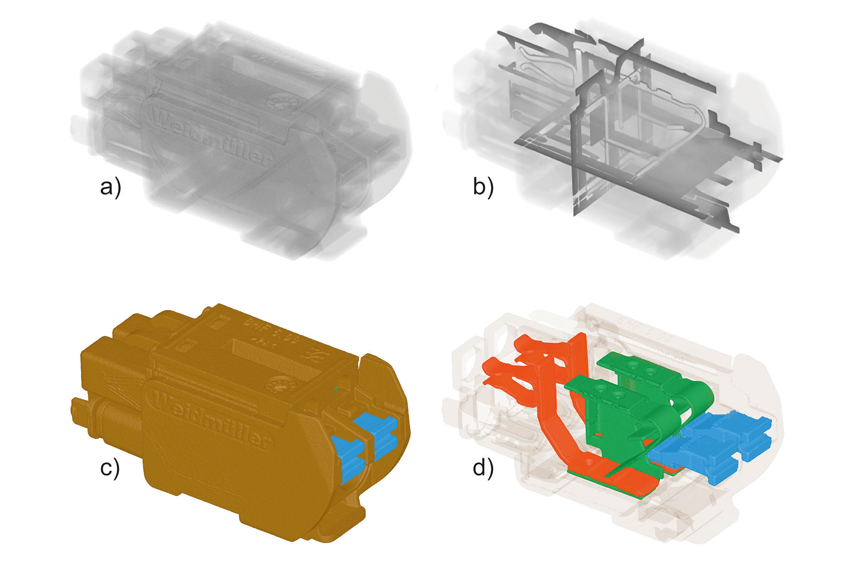
Conventional algorithms allow an automatic and sufficiently accurate determination of surface points without prior information about the workpiece (for example CAD model or STL point cloud of a master part) only for measuring objects made of one material. With the new Winwerth Multimaterialscan from Werth Messtechnik, a separate measurement point cloud is now automatically calculated for each material, even for measurement objects consisting of several materials that attenuate very differently. Typical applications include plastic-molded assemblies such as connectors or pump heads with corresponding integrated metallic components.
The materials to be considered by the algorithm can be defined by the operator by simply setting measurement windows in the volume section. The gray values contained in the measurement windows are automatically assigned to the respective material. This assignment can be checked and, if necessary, adjusted using a preview with colored marking of the materials.
Result of Comprehensive Experience
From capture of radiographic images, to workpiece surface capture with subvoxel precision, to output of the dimensions in a report, traceability of the results is guaranteed with Winwerth measuring software. Optical distance sensors, conventional styluses in single-point or scanning mode, the Werth Fiber Probe, X-ray computed tomography or machines with a combination of several sensors are all supported by the uniform concept. Measurement results in the form of measurement points, 2D images or volume data can also be conveniently evaluated with regard to geometrical characteristics or with nominal-actual comparison. In order to meet the most diverse requirements, the software has a modular structure. Different machines can be operated, from simple measuring projectors to complex multi-axis coordinate measuring machines with multi-sensor systems or even with X-ray tomography sensors.
Modern coordinate measuring machines cover a wide range of differently complex tasks. The qualifications of the machine operators range from employees with little training, who only occasionally determine a few Sizes, to specialists who, exploiting all technically feasible options, also handle very difficult measuring tasks. The very different working methods are optimally supported by the structure of the Winwerth software for machine operation. For example, there are several access levels that are adapted to the different qualification levels of the operators. Interfaces to CAD systems for target data import and to CAQ systems for statistical evaluation enable the adapted integration of the coordinate measuring machines into software structures of companies.
Integrated into the Production Process
For users untrained in the operation of measuring machines, WinWerth offers the possibility of simply selecting the part number and starting an automatic program sequence with it. Alternatively, this can be done by scanning a barcode on the production order. An automatic fault handling function helps, for example, if the parts are not inserted correctly.
Alternatively, a workpiece changing system (utility model) can be integrated into the housing of the Tomoscope coordinate measuring machines without further precautions for radiation protection. With several ready-loaded pallets, measurements are possible overnight and at weekends. Automatic feeding by means of feeding devices can also be integrated.


